For the first time since I became a self-sufficient adult and incentivized by the lockdown to have another place to be in, we built a sukkah (סוכה) for… yes, you got that right: Sukkoth (סוכות).
When it comes to building a sukkah, there’s two ways to go:
- McGyver-style, using nothing but a swiss-army knife and raw unprocessed materials, which takes way too much work and aren’t reusable. I want a sukkah but not this badly.
- Get a pre-made kit, which you can reuse but I’m waaay too cheap to buy. And if you procrastinate like I do, they sell out anyway.

So for all the many readers of The MKX® and other people searching the Internet for instructions on “how to build a sukkah”, this is how I made a really nice, inexpensive, easy to build, reusable sukkah.
Get a canopy with walls

This is the key ingredient. When I bought it it had a nice discount so it was a bit over $200. It comes with walls, and neatly folds into a nice bag with wheels. Buy it in whatever color you want (I got white). Note that the walls attach to the roof using velcro, and I obviously don’t use the roof. So this is a problem.
Unlike most pre-made sukkot, this thing is light, sturdy, and comes as a single piece. No construction or tools needed!


Grommet kit

$12 from Home Depot. Since the walls attach to the fabric roof using velcro, I needed an alternative. Enter this grommet kit. I made 5 holes on each wall – right on the aforementioned velcro – so I can attach the fabric walls to the structure of the canopy. This part took the longest but is also the one part I won’t have to repeat next year.


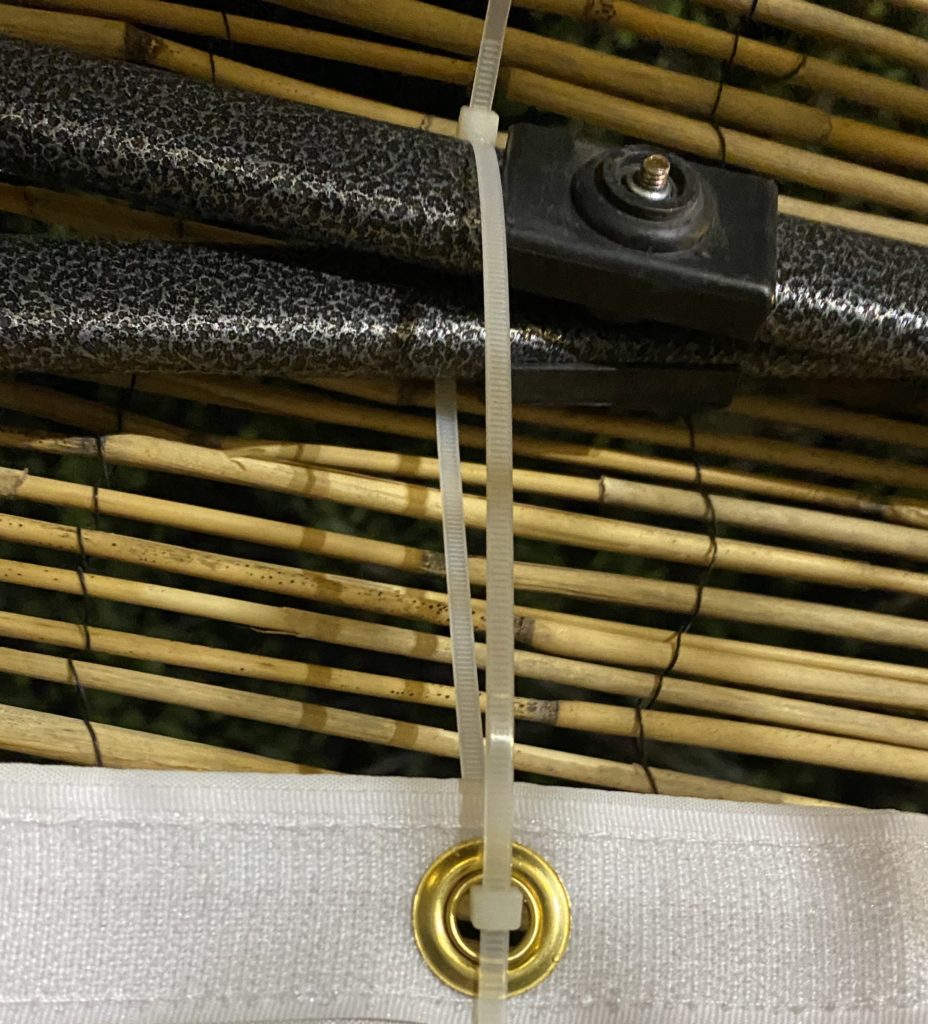
Zip ties
One of the best things since sliced bread, zip ties are your friend. Buy a big bag and use them to hang the walls and just about anything you need. Apply them generously, mostly because they are so incredibly satisfying.
S’chach
The roof, perhaps the most important aspect of a sukkah is where it could all have gone wrong. My gardener Carlos didn’t come through with palm leaves, and the pre-made kosher roll up s’chach (סכך) would have cost around $300 for my 10×10 area.
My buddy Dajman gave me the ultimate tip: 6 ft. H x 16 ft. W Natural Reed Garden Fencing from Home Depot, $25. Perfect 👌🏻.

Unroll two of these on the to of the sukkah and you’re good to go. Didn’t even need to tie them.
Finishing touches
Add a few string lights and decorations and hang them with those zip ties that are sooo satisfying and… voilà!, we have a festival in our hands. Chag Sameach!


