I don’t like jelly hamantashen (Yidish המן־טאַשן; in Hebrew Oznei-Haman / אוזני המן). Those are for sissies. But everywhere you go, that’s the only flavor!
What I really really really like, and this should not come as a surprise to long time readers, are the mohn aka poppy seed ones. It was time for me to take matters into my own inept cooking hands! And I capture it here for all posterity and because I sort of made it up as I went but want to remember some details for next year.
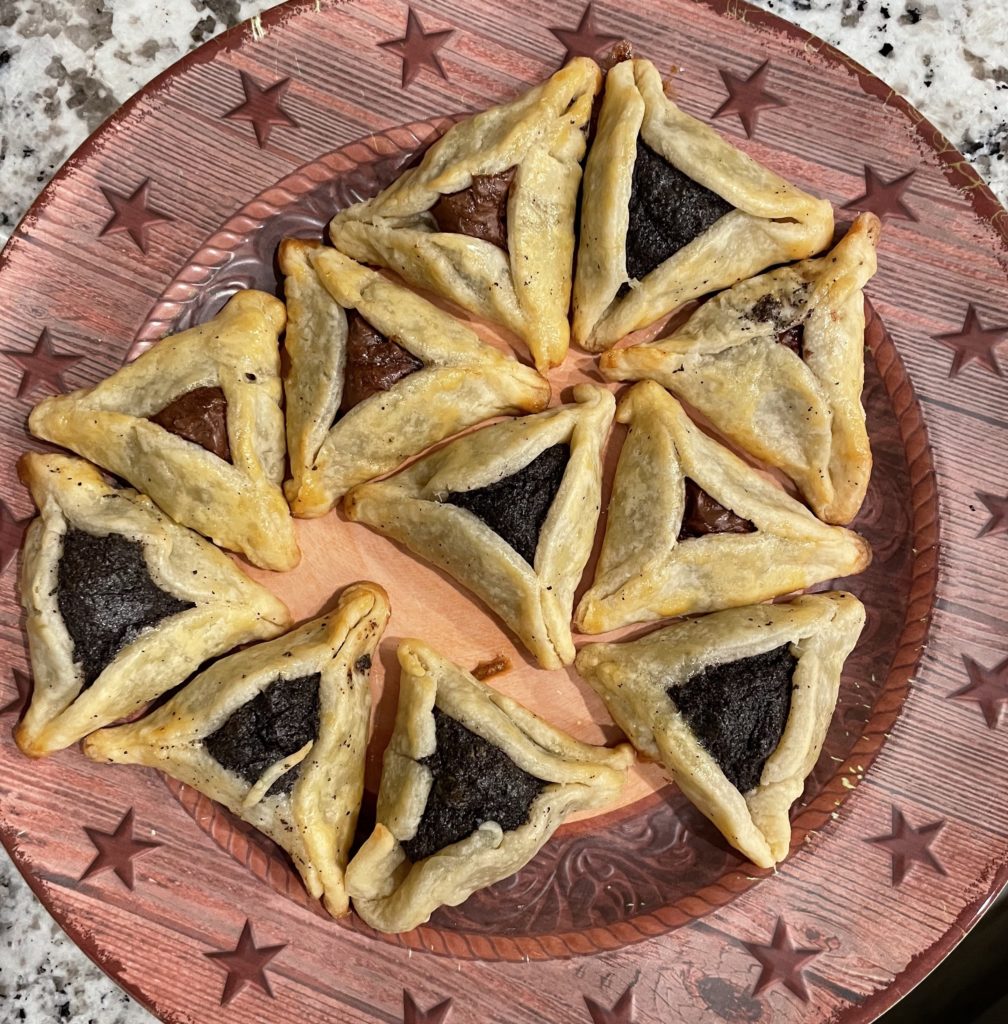
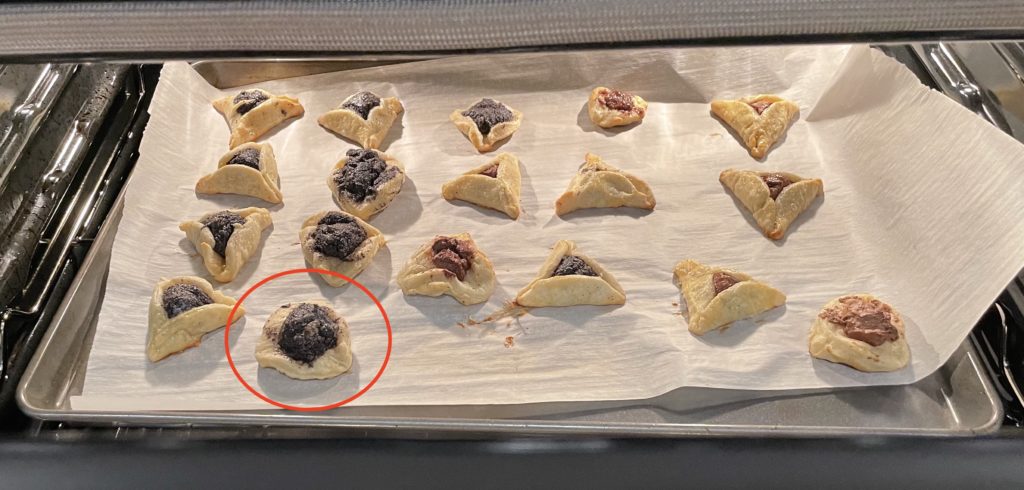
My beautiful and tasty hamantashen. Black is poppy seed, brown is Nutella. The ugly and tasty ones not depicted.
To make the poppy seed filling: Grind a bunch of poppy seed in a coffee grinder until you think it’s enough. Melt a bunch of butter (I did like half a bar) in the microwave. Then add the poppy seed. Finally add sugar. How much? If you are not an experienced baker, then imagine an amount that sounds like a crap load. Add twice as much. Mix it until you have a paste.
To make the dough: Take out the pre-made pie crust, unroll it, use a cup to make circular cutouts. Roll the remaining dough then make more holes. Repeat until you have no more dough.
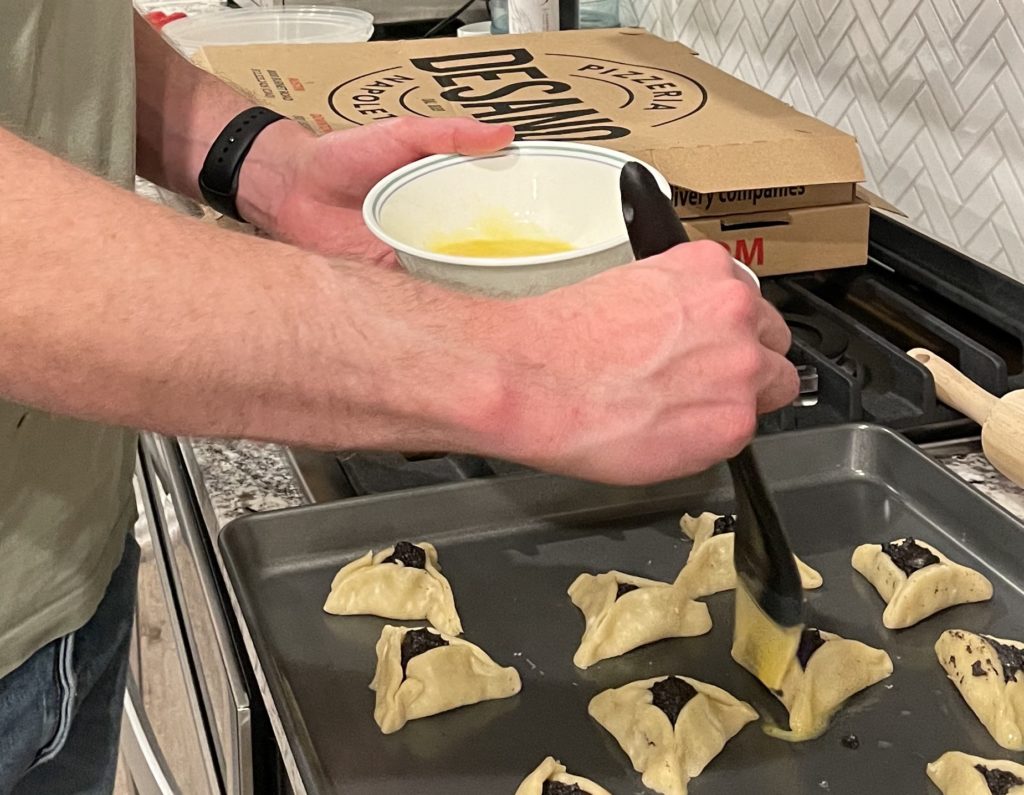
To make the cookies: This is the hardest part. Using a teaspoon, put a bit of filling in the middle of each circle. Fight your instincts to add lots of poppy seed because you love it: it it makes the things behave like Shrinky Dinks when in the oven. Fold it into a triangle, leaving a little window to showcase the black gold. Make sure to squeeze the corners real tight or more Shrinky Dinks! And don’t forget to make a few with the Nutella for your snotty little kids who should know better. Use a brush to cover the hamantashen with egg so they come out nice and shiny.
The chef in action.
Bake Put the hamantashen on a tray on top of parchment paper. Or don’t use the paper. I don’t know. But I did and it worked out. Bake at 400 ℉ for about 10 minutes. I highly recommend waiting for them to cool down before eating.
Make sure to not over do it with the filling and squeeze those corners tight or your hamantashen will blossom in unexpected ways.
For the first time since I became a self-sufficient adult and incentivized by the lockdown to have another place to be in, we built a sukkah (סוכה) for… yes, you got that right: Sukkoth (סוכות).
When it comes to building a sukkah, there’s two ways to go:
McGyver-style, using nothing but a swiss-army knife and raw unprocessed materials, which takes way too much work and aren’t reusable. I want a sukkah but not this badly.
Get a pre-made kit, which you can reuse but I’m waaay too cheap to buy. And if you procrastinate like I do, they sell out anyway.
Thanks, but no thanks.
So for all the many readers of The MKX® and other people searching the Internet for instructions on “how to build a sukkah”, this is how I made a really nice, inexpensive, easy to build, reusable sukkah.
Get a canopy with walls
This is the key ingredient. When I bought it it had a nice discount so it was a bit over $200. It comes with walls, and neatly folds into a nice bag with wheels. Buy it in whatever color you want (I got white). Note that the walls attach to the roof using velcro, and I obviously don’t use the roof. So this is a problem.
Unlike most pre-made sukkot, this thing is light, sturdy, and comes as a single piece. No construction or tools needed!
The delight of seeing the future sukkah for the first time.So easy to assemble even these clowns can do it.
Grommet kit
$12 from Home Depot. Since the walls attach to the fabric roof using velcro, I needed an alternative. Enter this grommet kit. I made 5 holes on each wall – right on the aforementioned velcro – so I can attach the fabric walls to the structure of the canopy. This part took the longest but is also the one part I won’t have to repeat next year.
Serious people trying to figure out how to use the grommet kit.My signature “not too shabby” face. It all ended up looking quite professional, if I must say it myself.
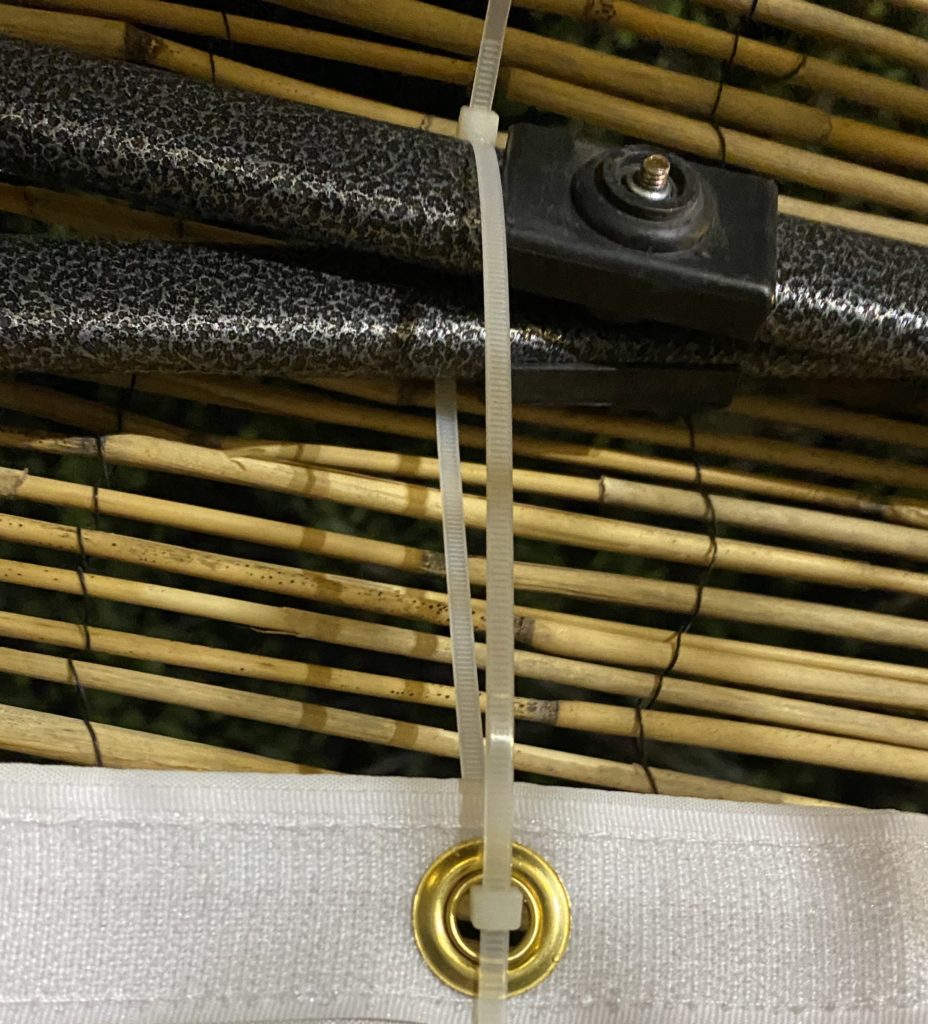
Zip ties
One of the best things since sliced bread, zip ties are your friend. Buy a big bag and use them to hang the walls and just about anything you need. Apply them generously, mostly because they are so incredibly satisfying.
S’chach
The roof, perhaps the most important aspect of a sukkah is where it could all have gone wrong. My gardener Carlos didn’t come through with palm leaves, and the pre-made kosher roll up s’chach (סכך) would have cost around $300 for my 10×10 area.
Unroll two of these on the to of the sukkah and you’re good to go. Didn’t even need to tie them.
Finishing touches
Add a few string lights and decorations and hang them with those zip ties that are sooo satisfying and… voilà!, we have a festival in our hands. Chag Sameach!
The canopy comes with an extra wall with a roll-up wall. I chose not to use it so the sukkah feels more open.
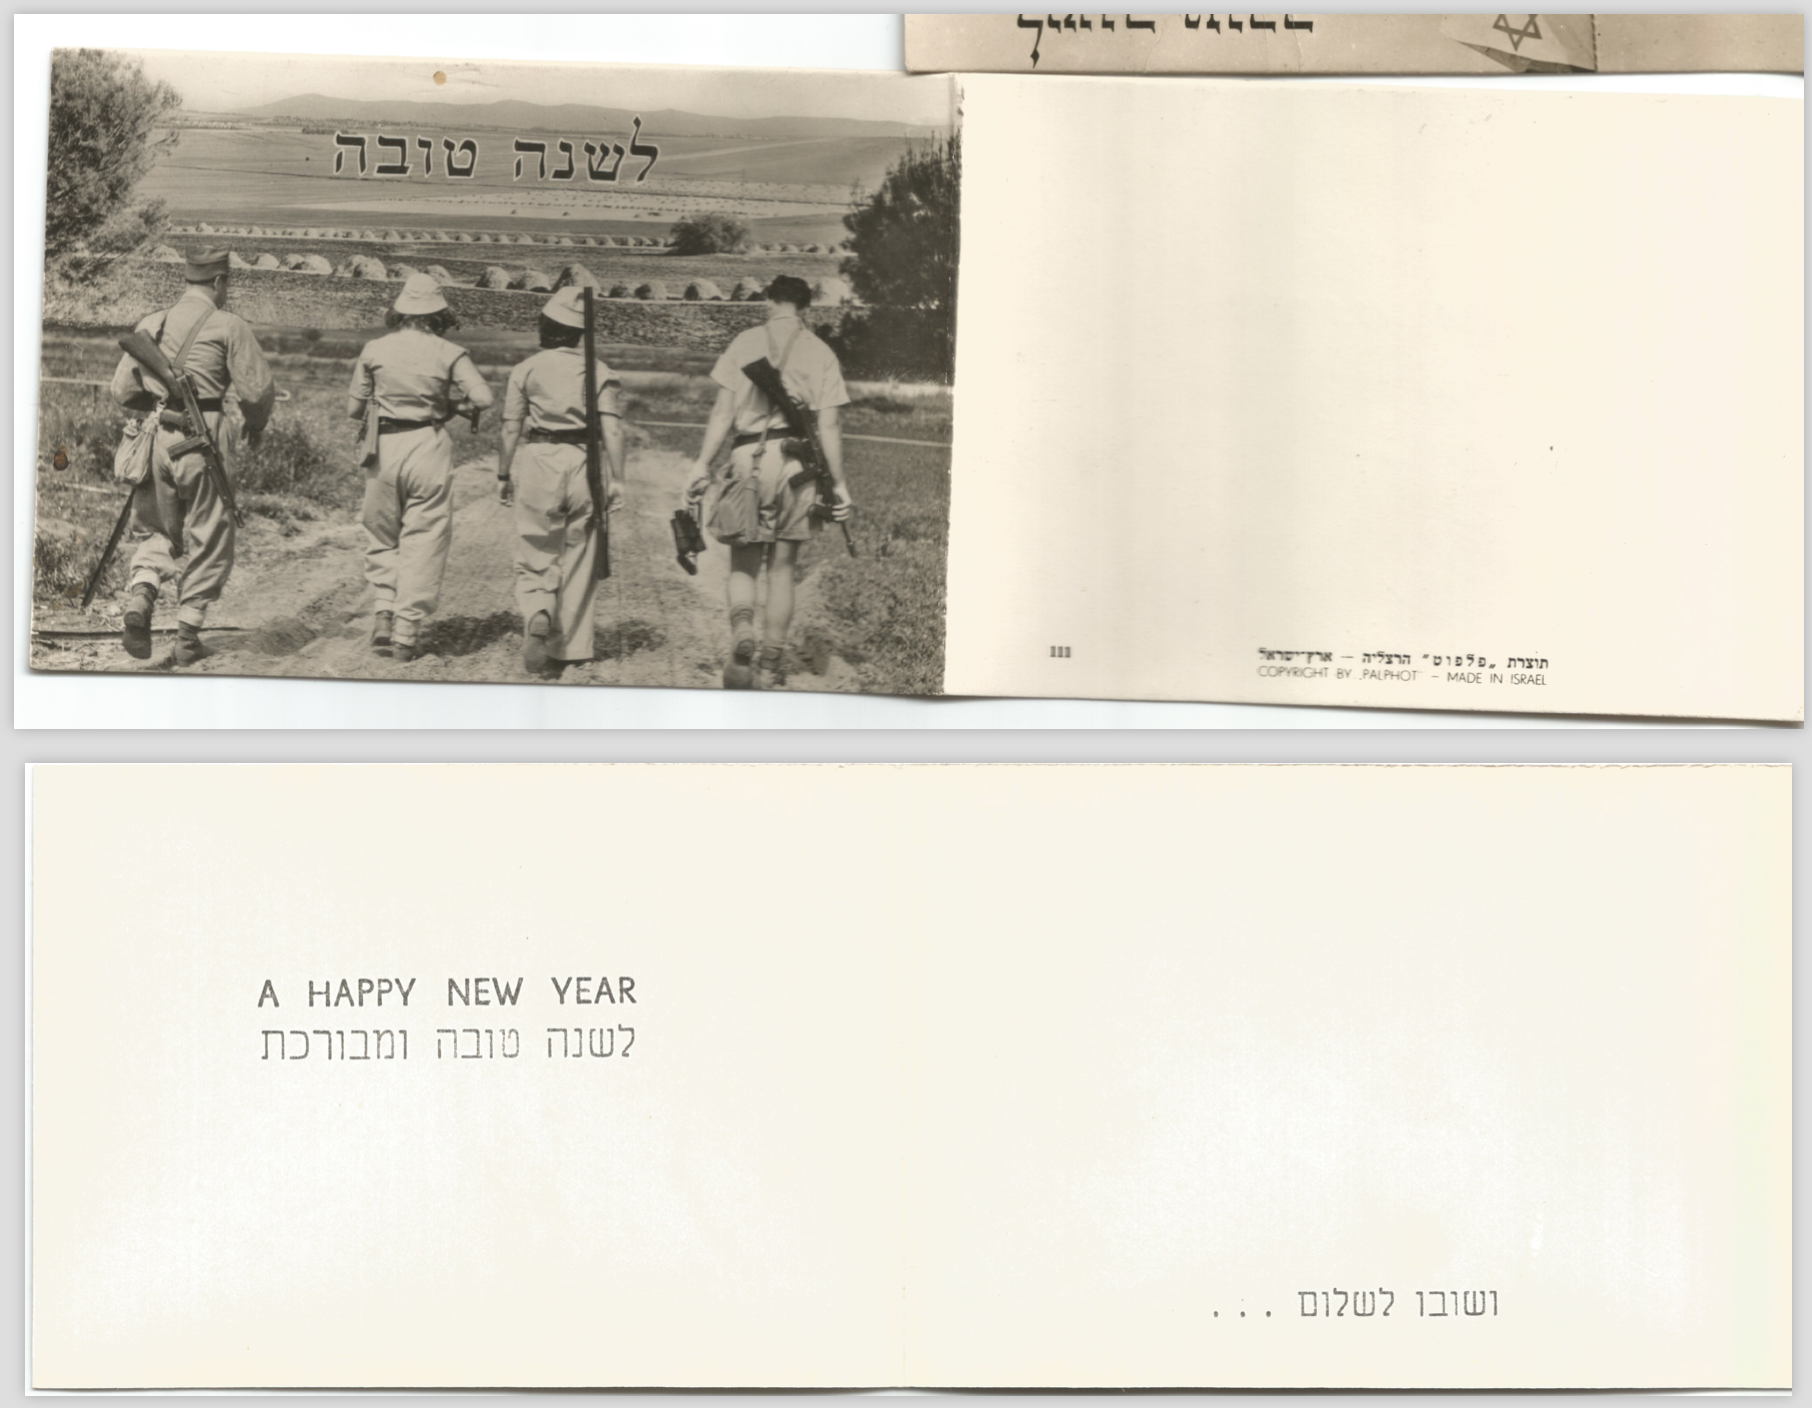
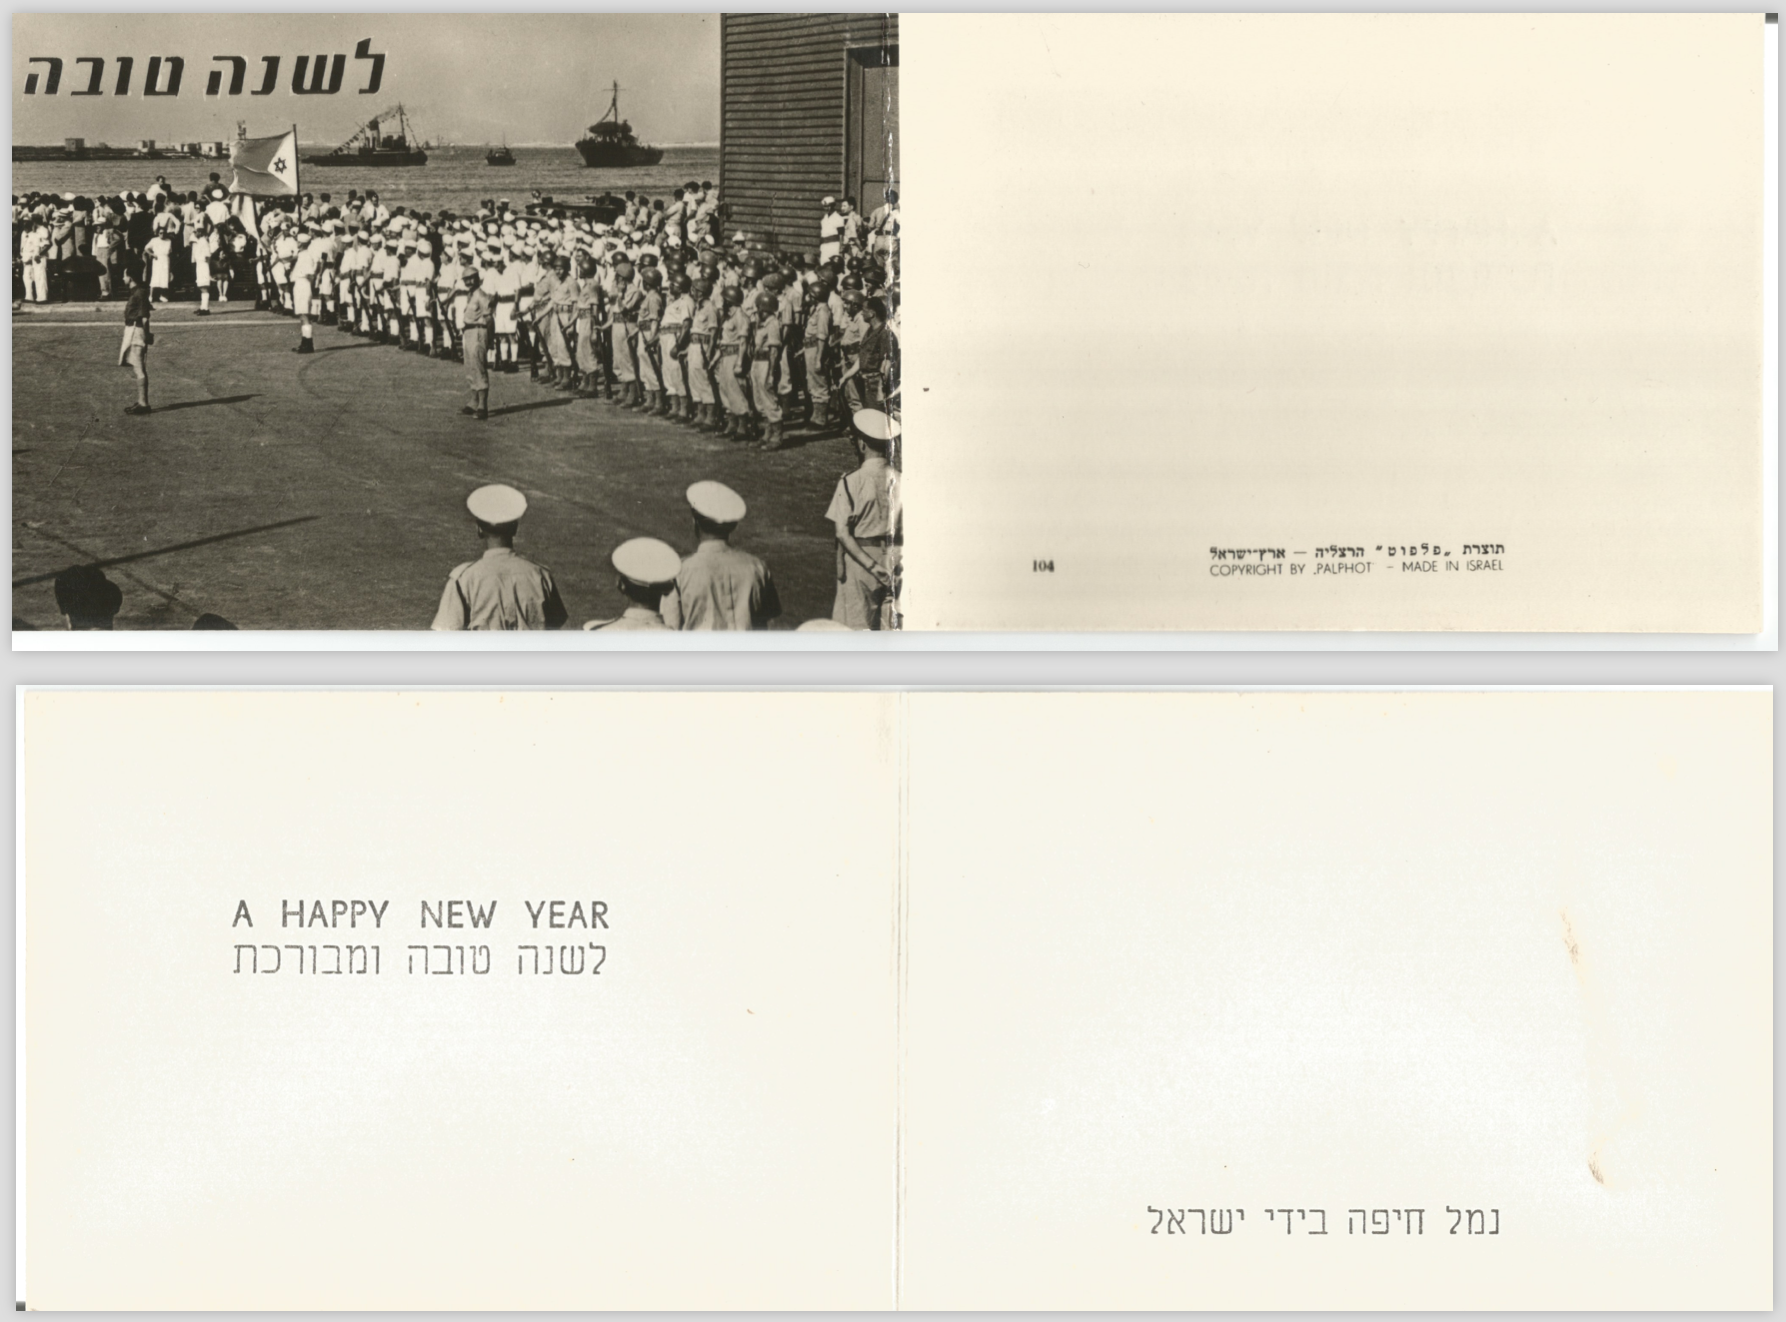
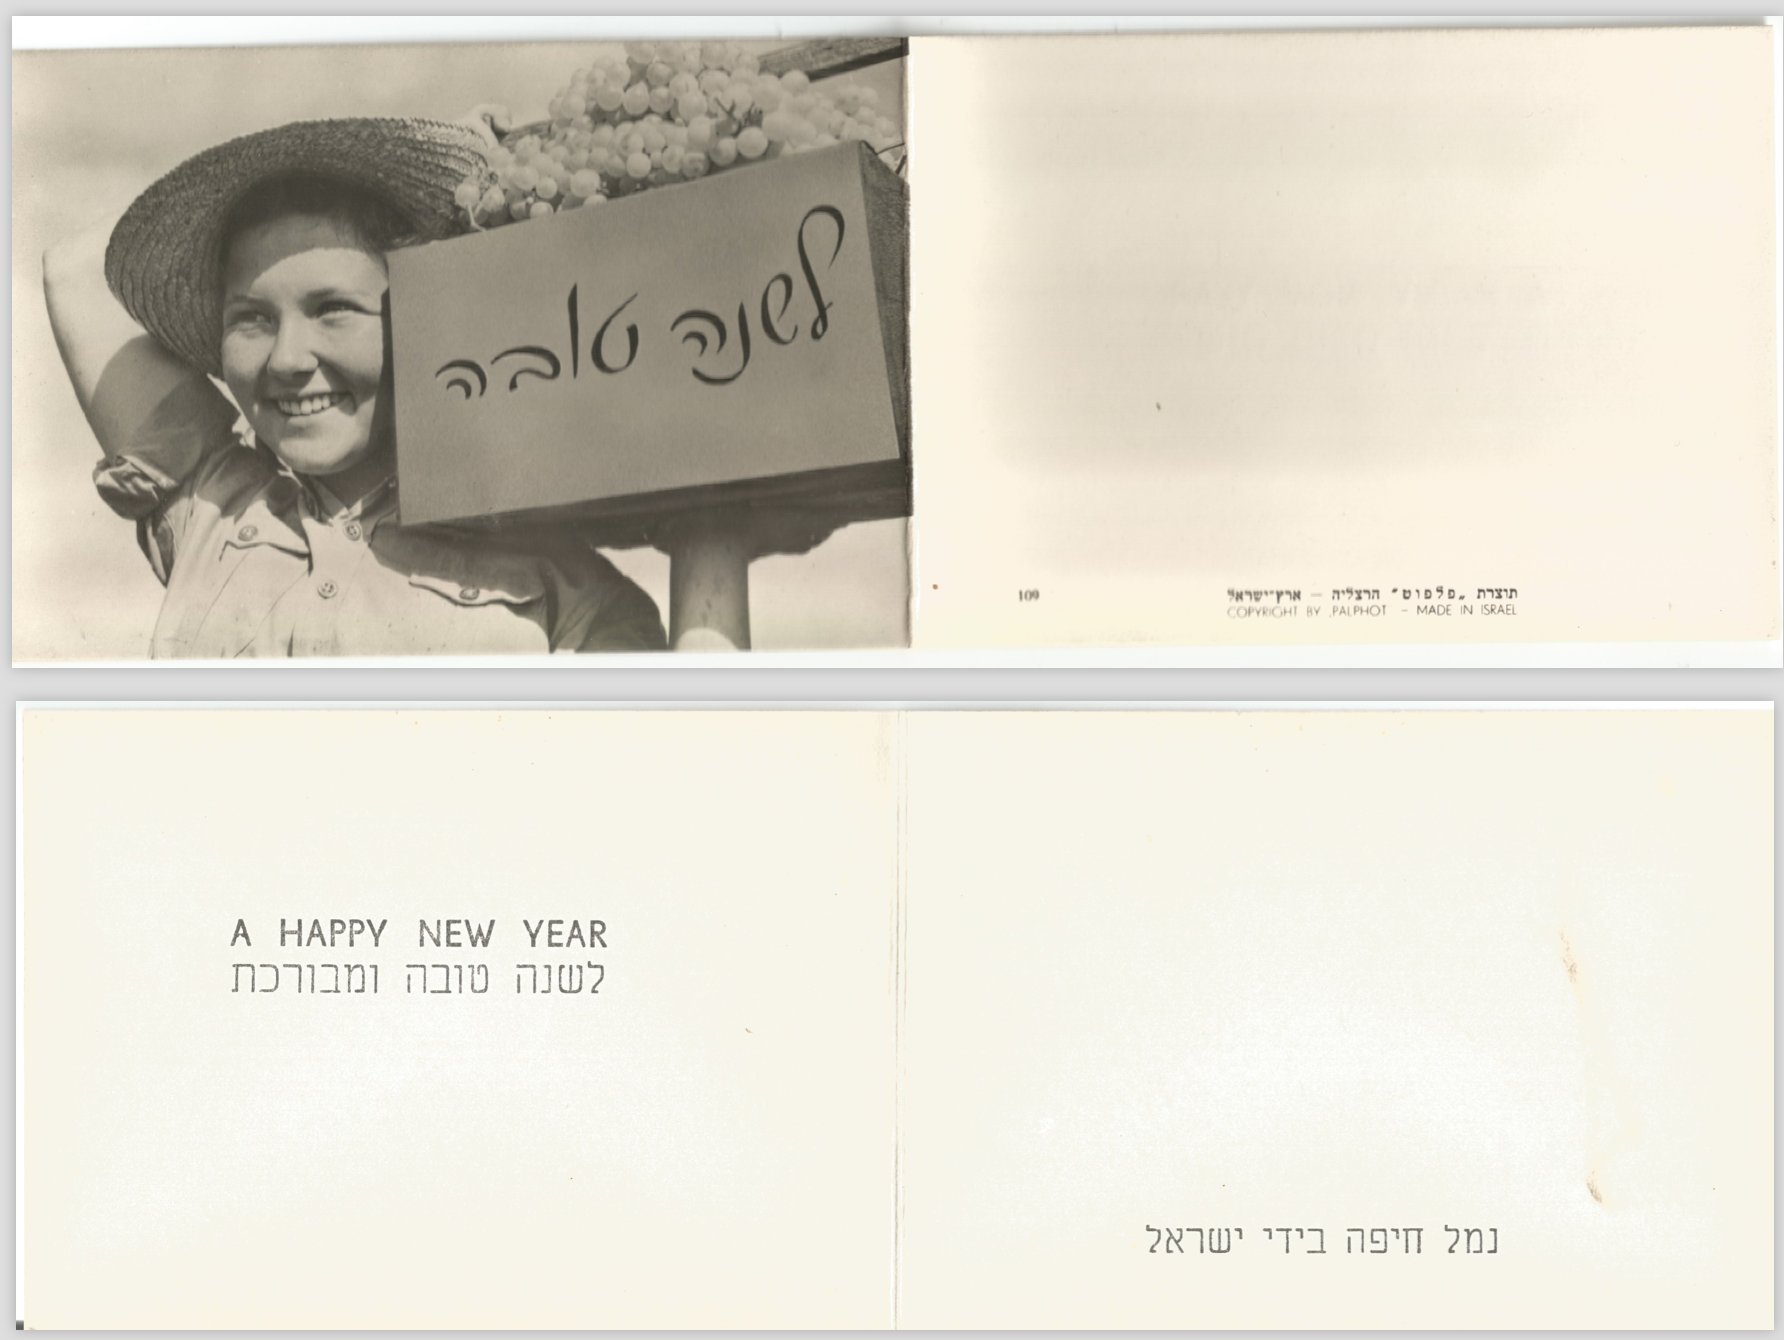
Time flies… it feels like just yesterday it was 5710, barely a year after the founding of the State of Israel.
Ok, not really. But it will after you see these five Rosh Hashanah greeting cards (cartisei bracha) from 1949. My mom found them in a box that belonged to my great-grandfather zeide Elias Zack. For the most part, these are well known photos, but it’s still cool to see in this format.
Let’s see if I can track down who these Yaffa, Nili, and Baruch Sandomirsky were.
Here is a download link for all five as separate PDFs scanned at insanely high 600 dpi, in case you want them. If you do download, be nice and leave a comment? kartisei-bracha-1949
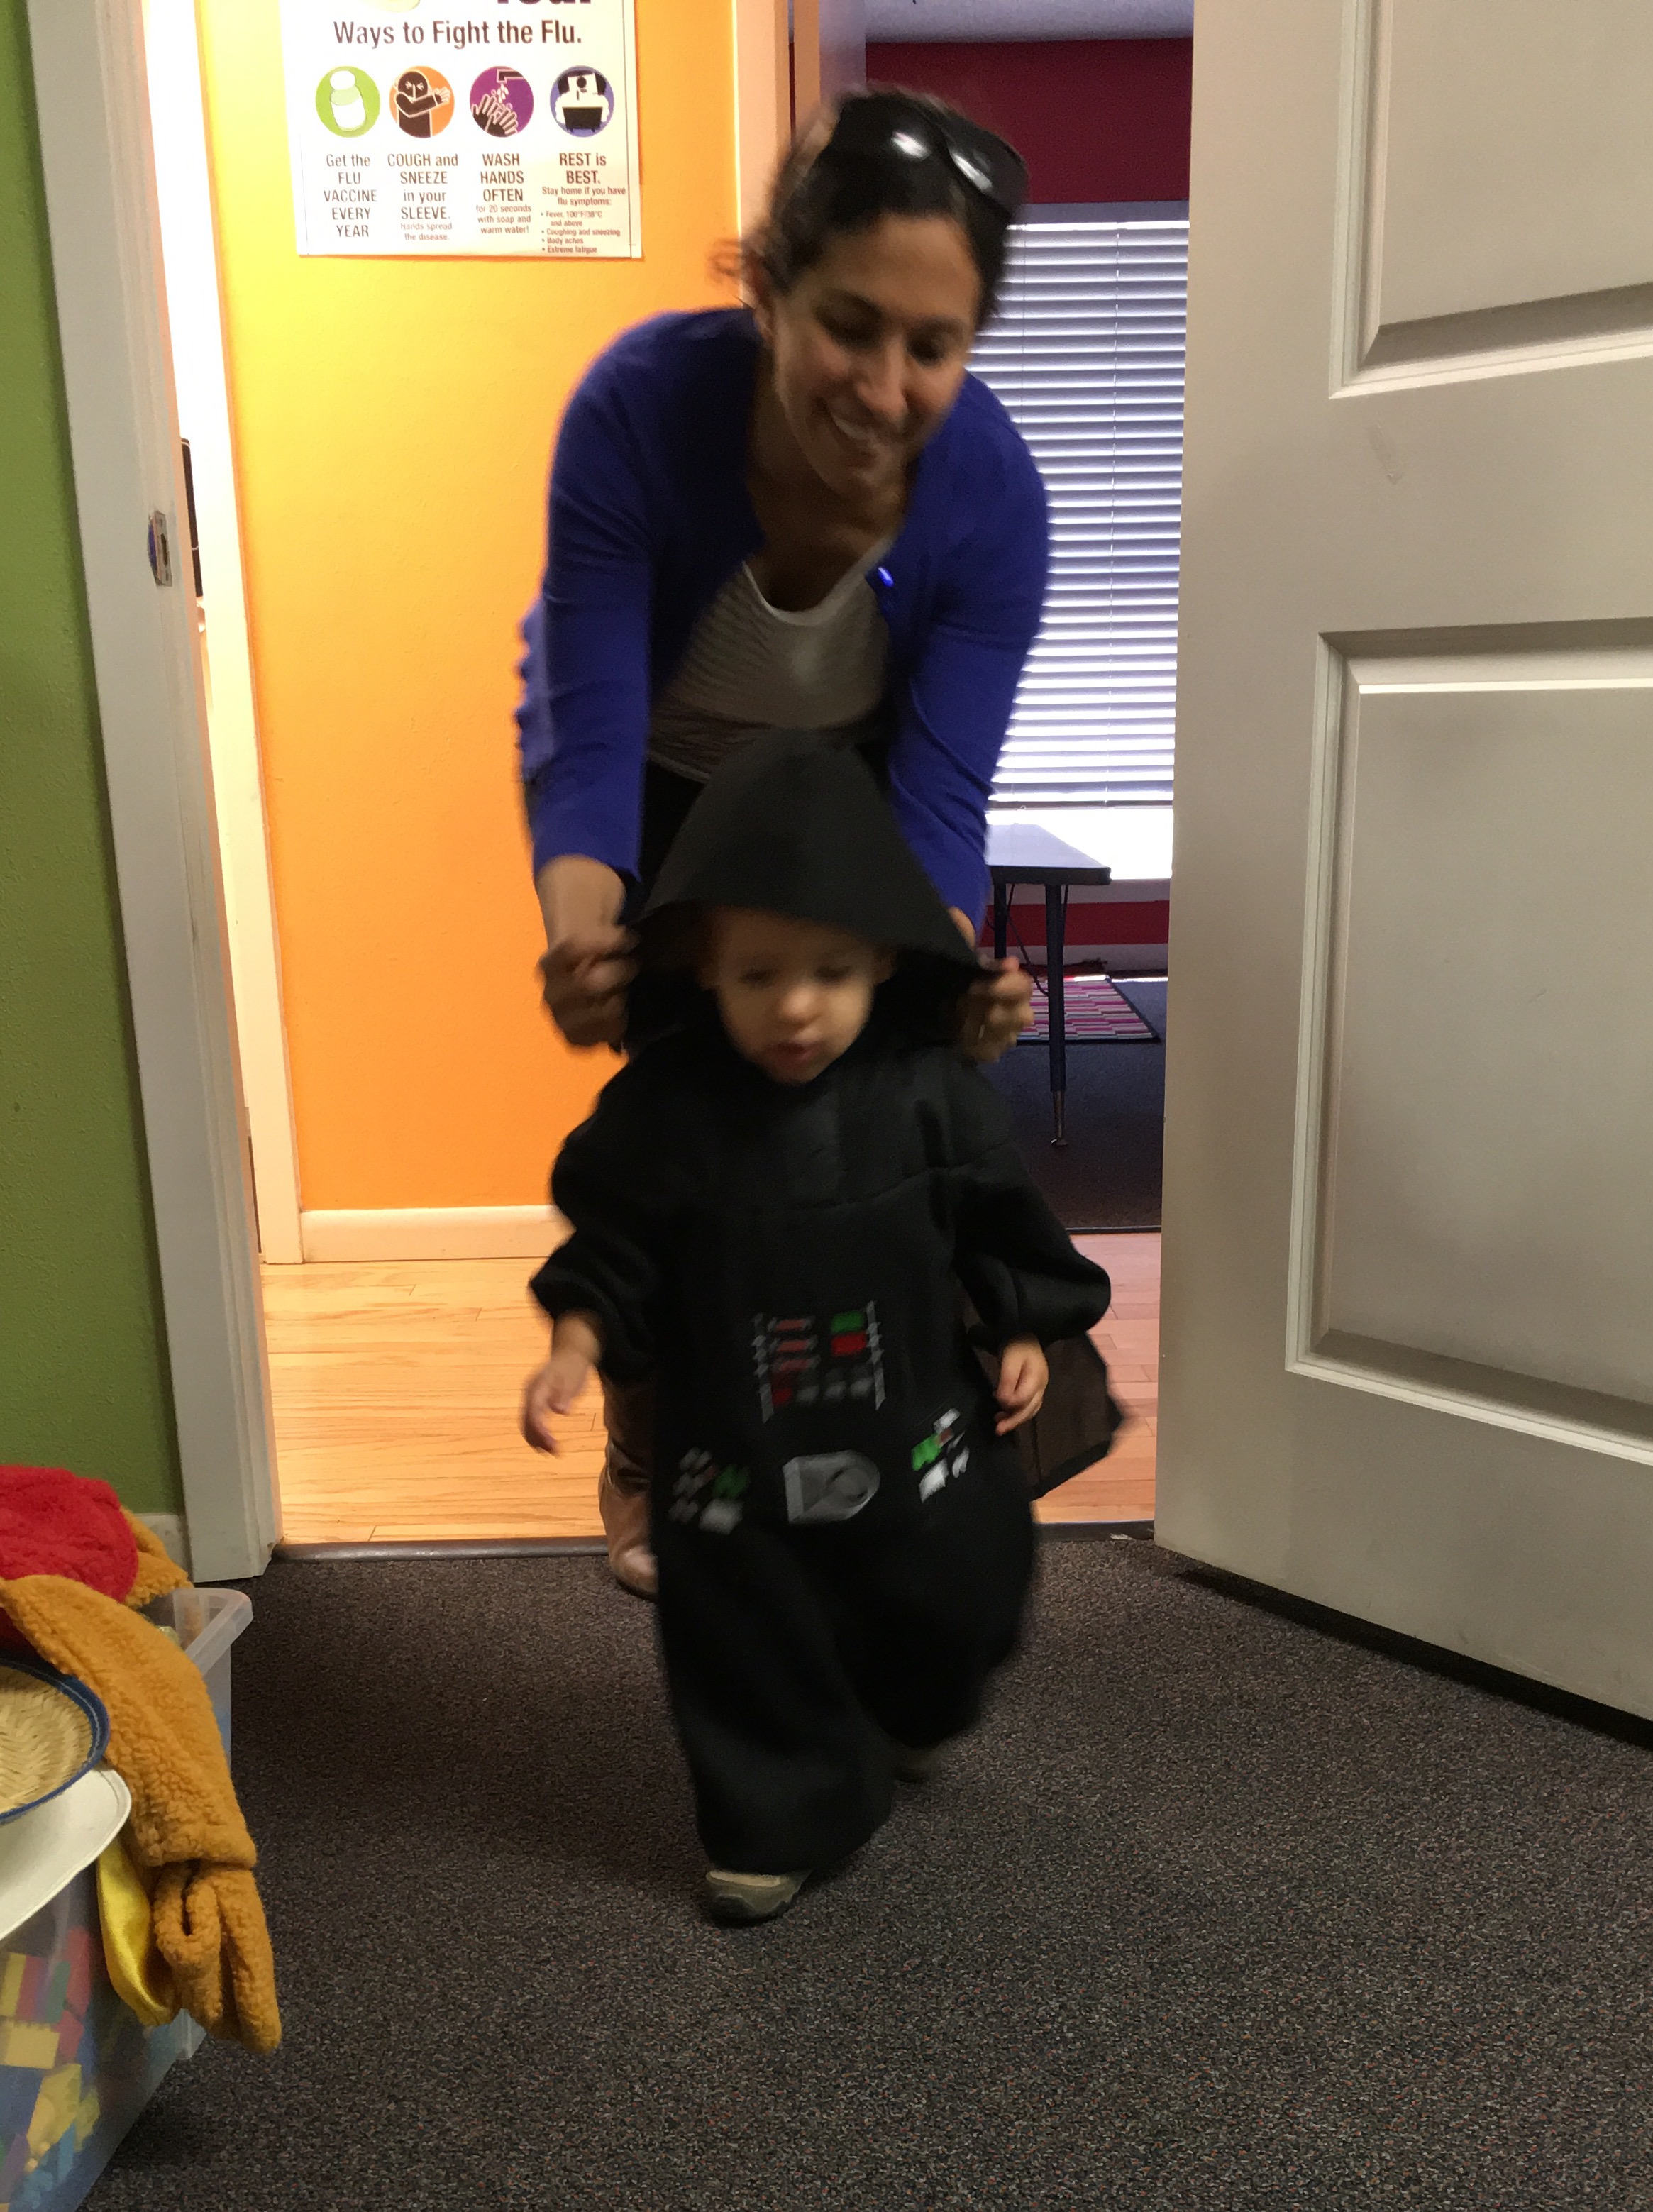
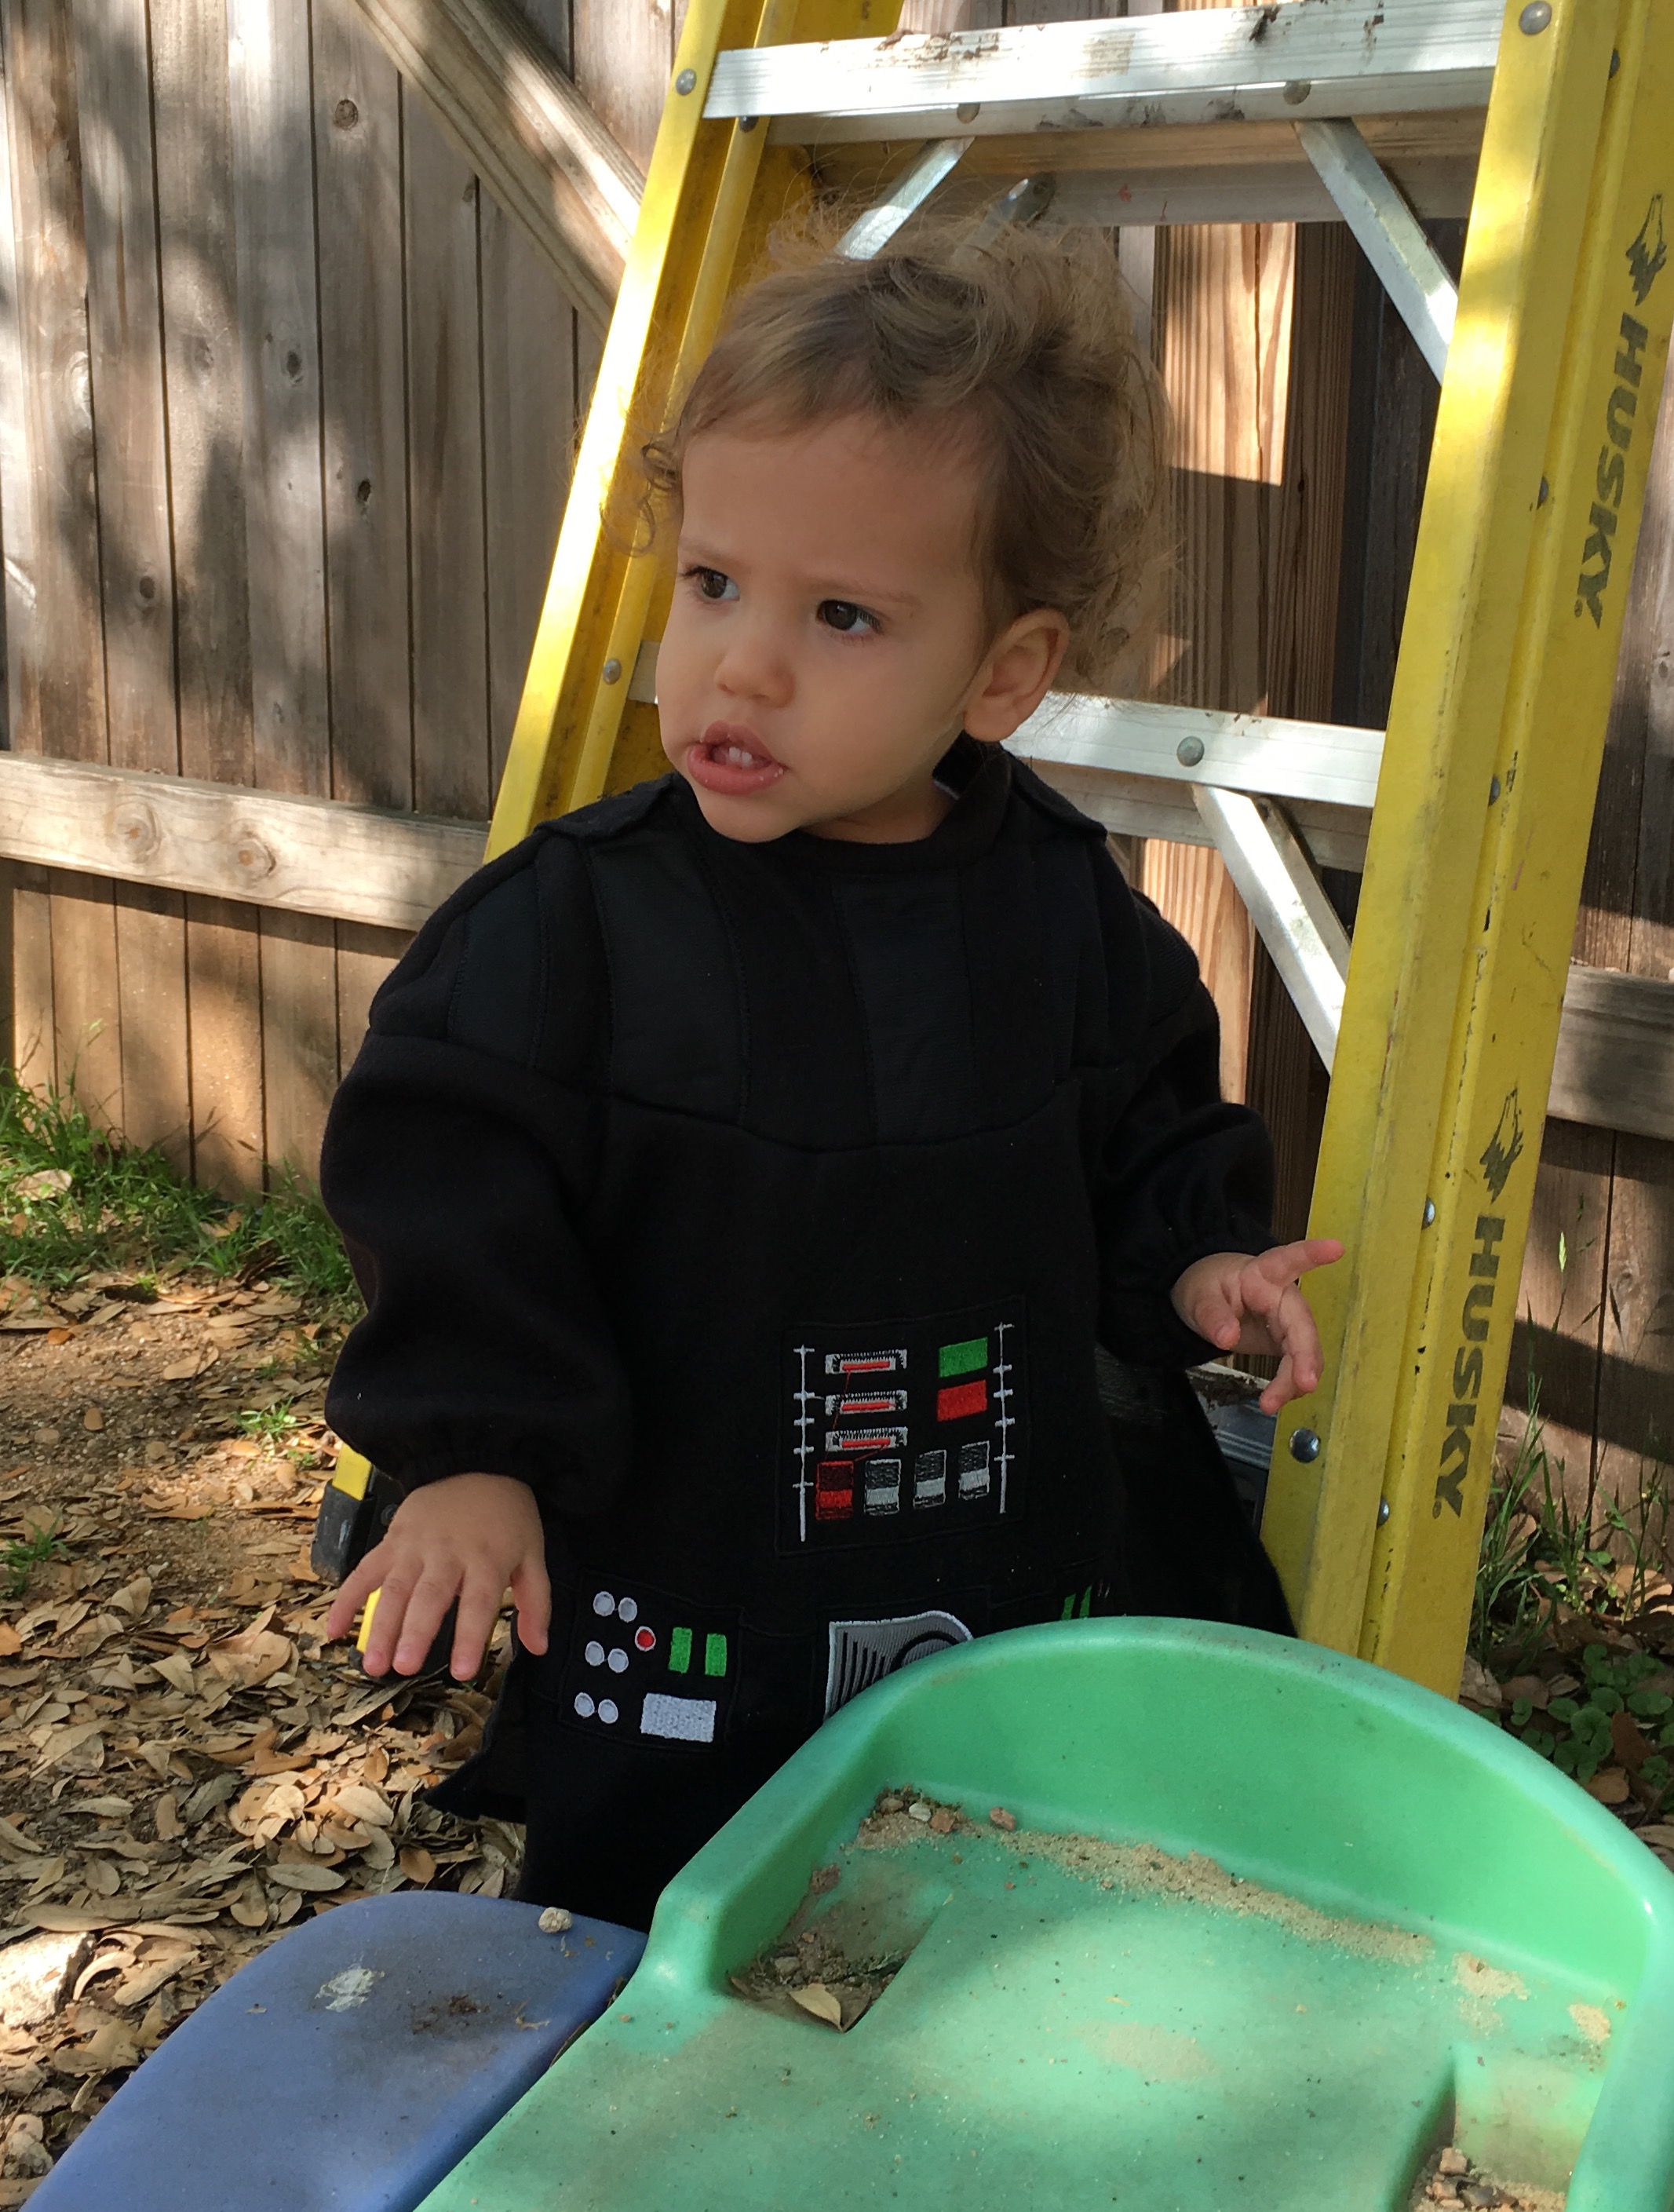
Ilan dressed up for Purim as the Dark Lord of the Sith himself: Darth Vader. Whenever I would ask him “Where’s Darth Vader?” he would look down and point at his costume while breathing heavily.
I couldn’t be prouder.
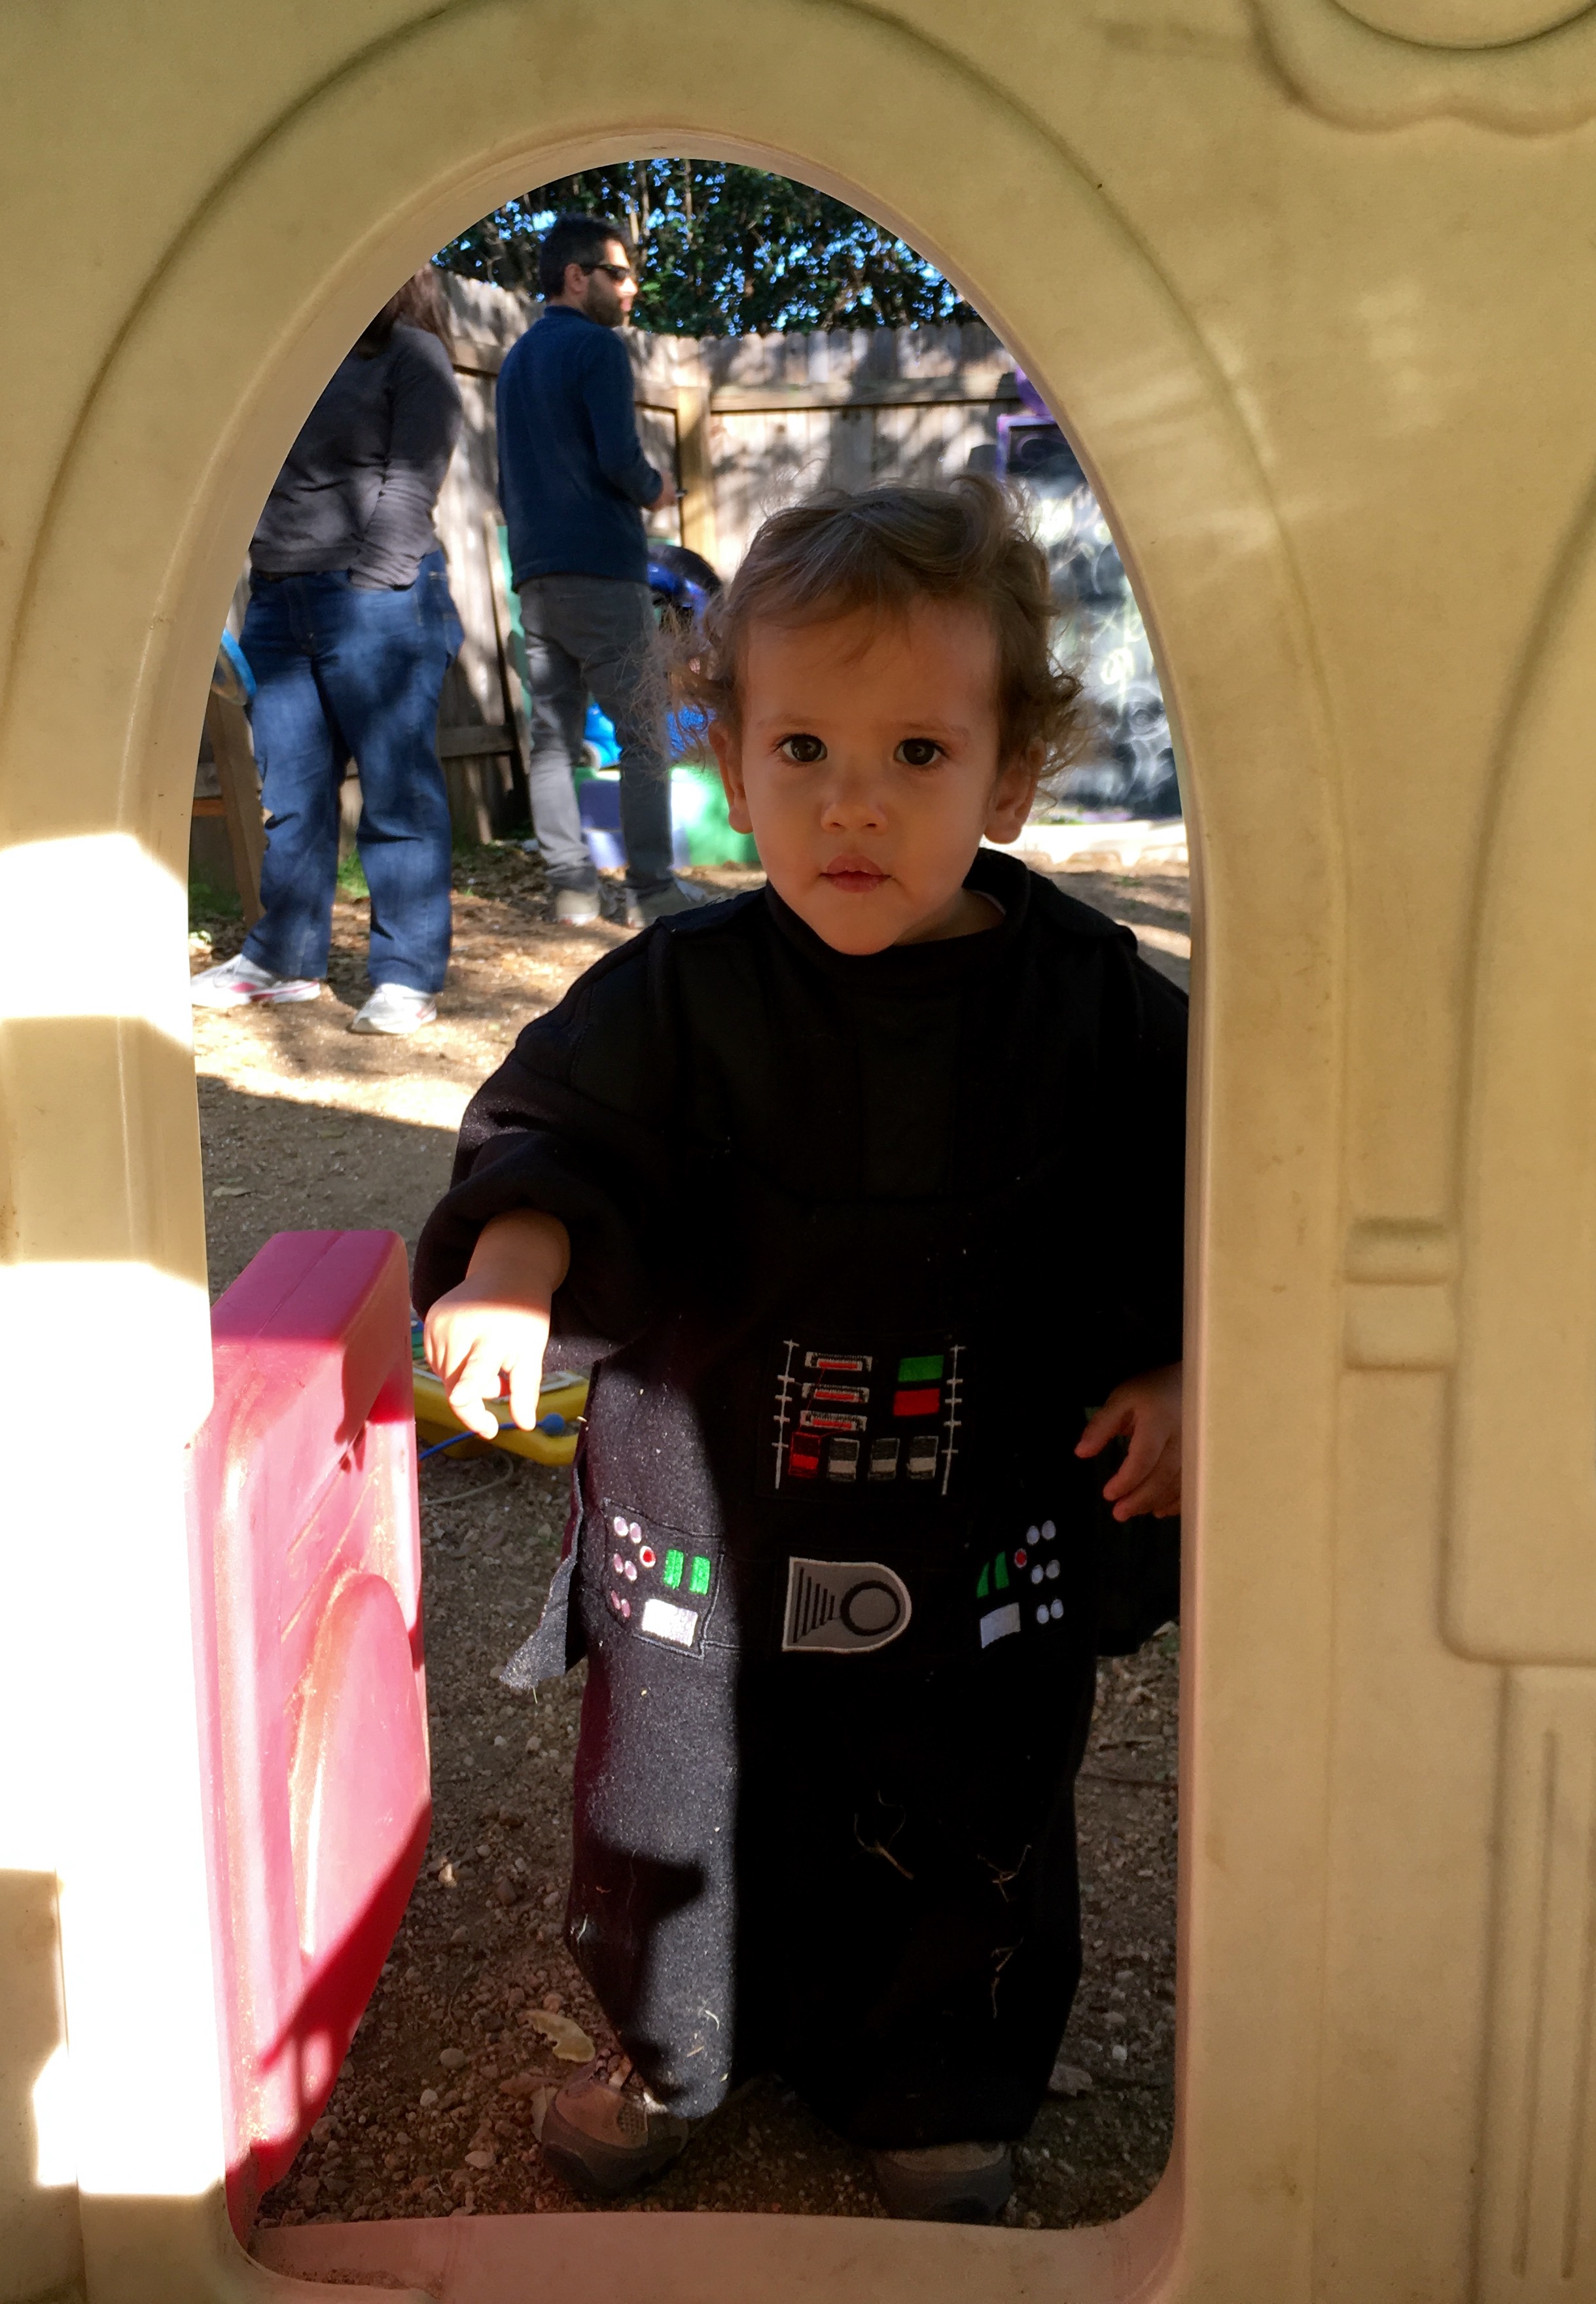
This was the least bad photo with the helmet, which lasted on for the duration of this photo.
Off-frame: the kid that took the ball as the victim of a force choke.
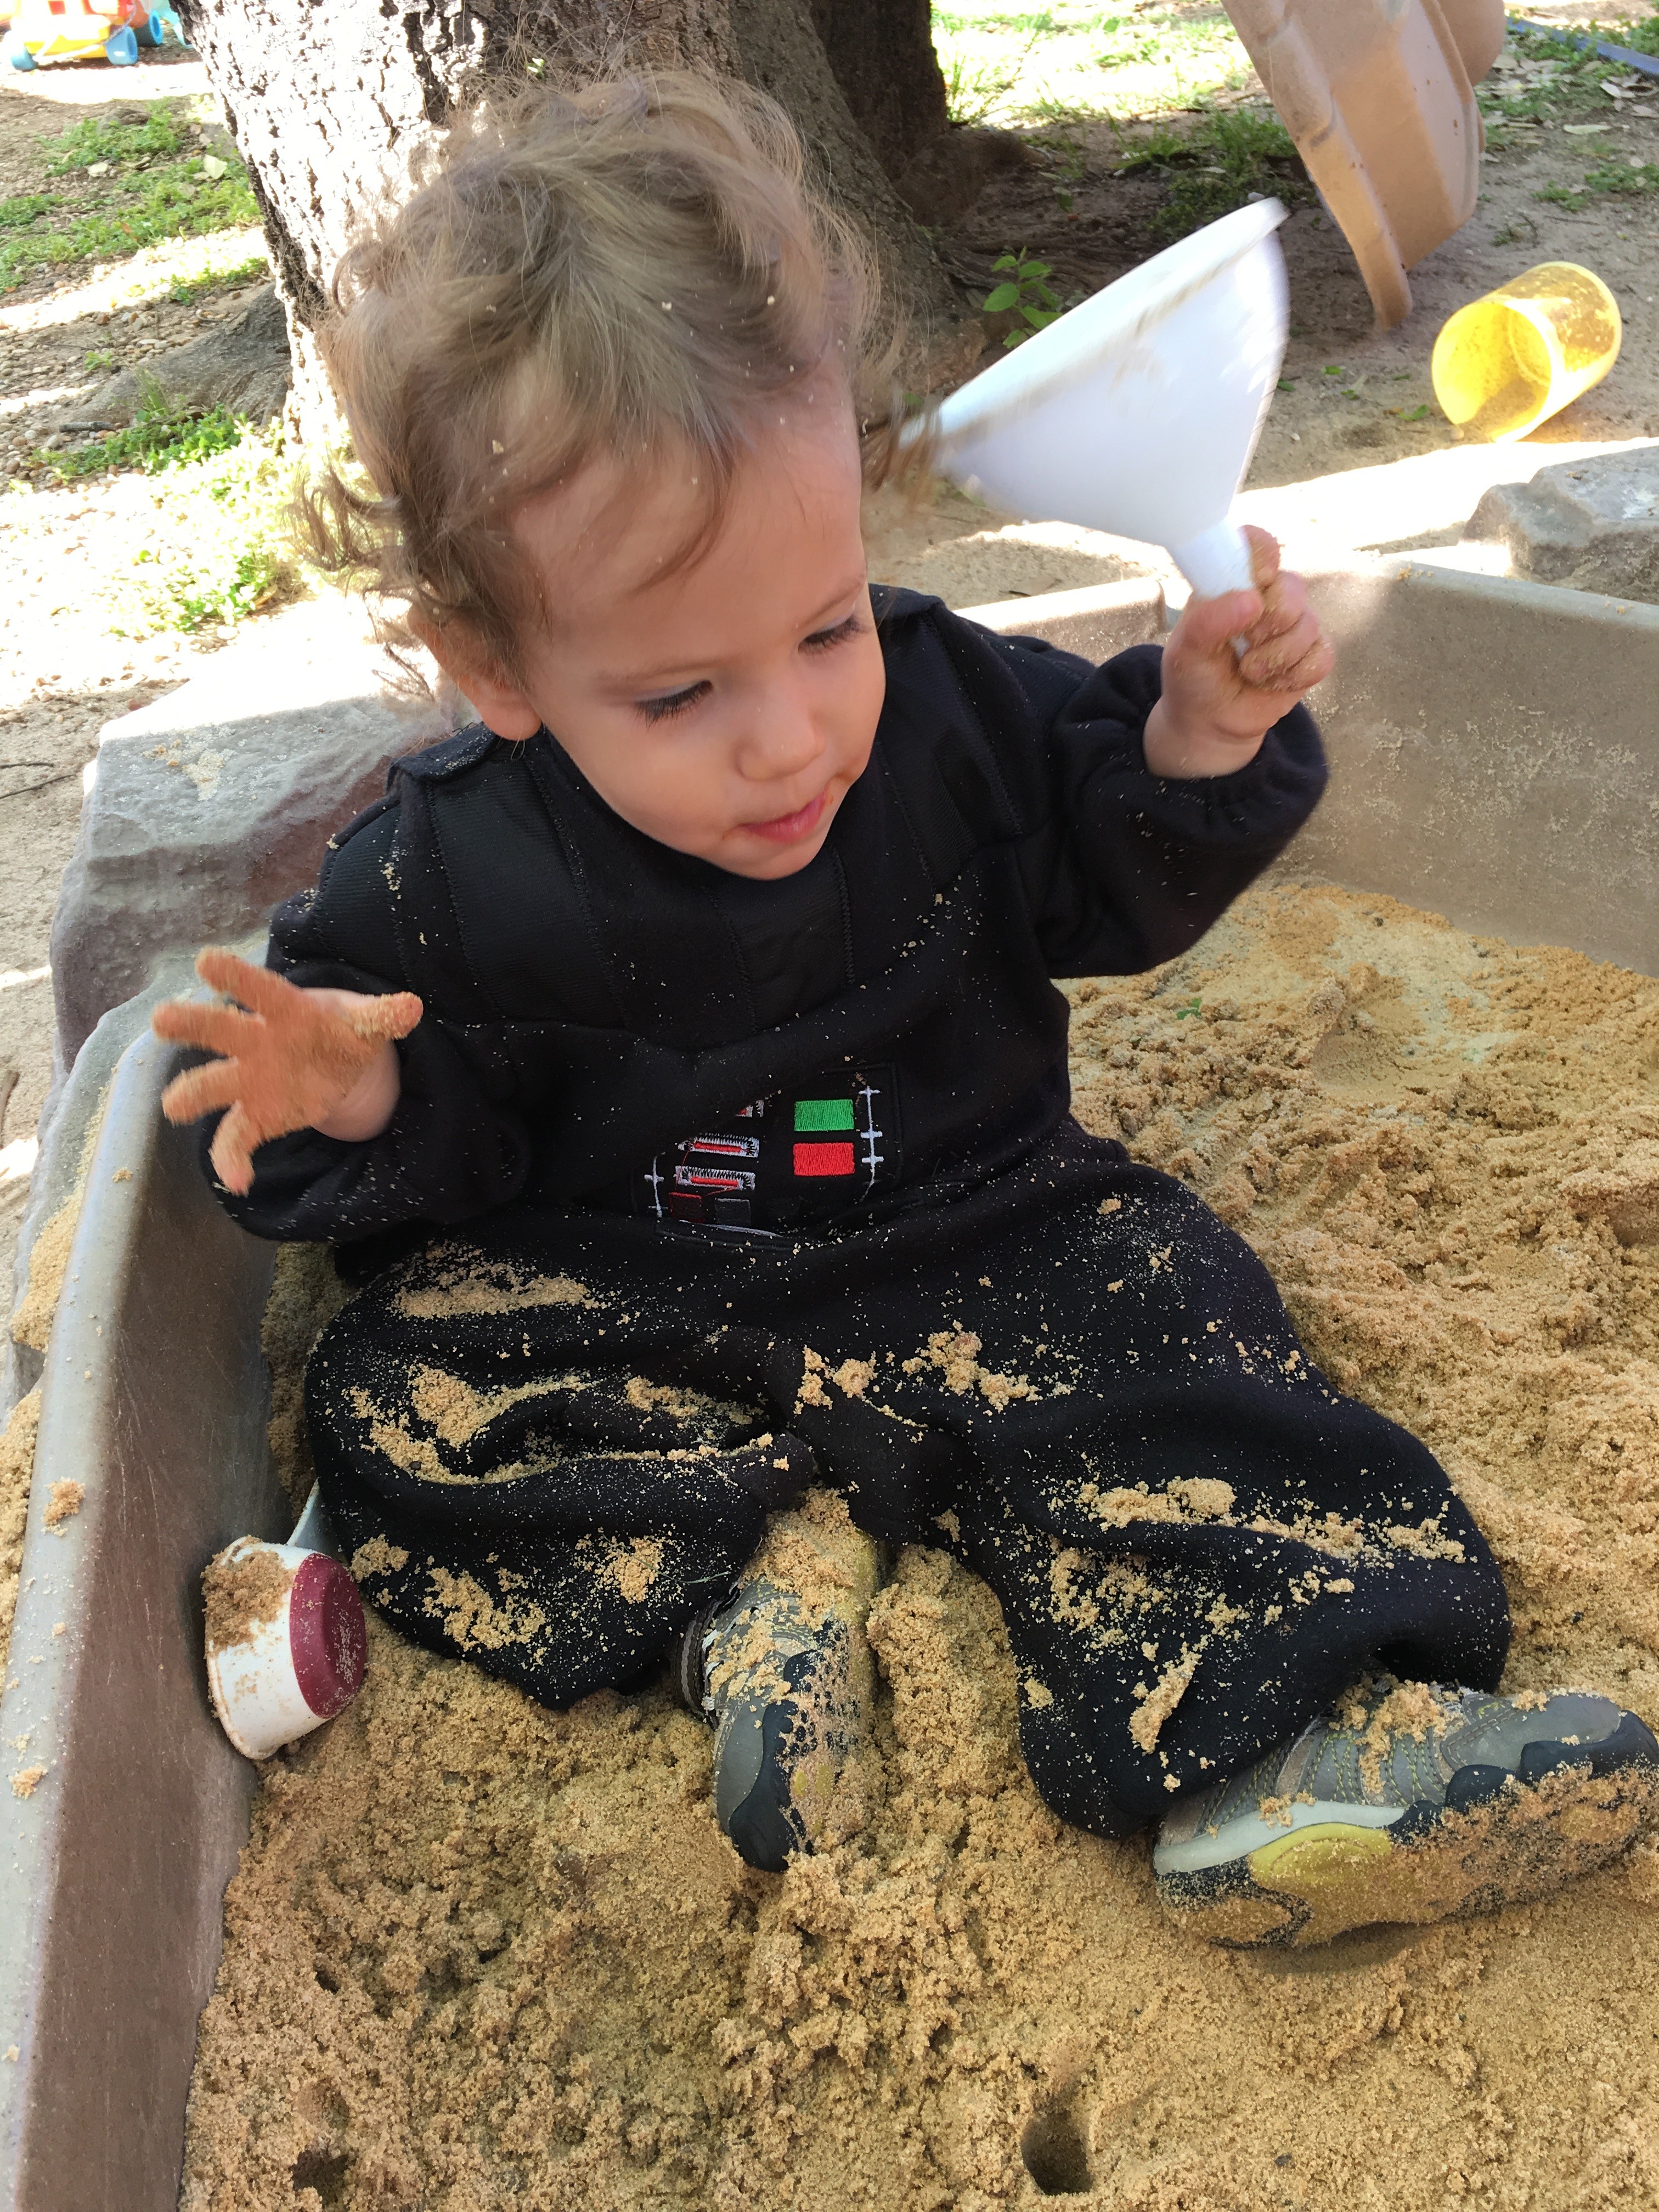
In his home planet environment.
Ominous.
Apologies for the shoddy video work: I had to stay close and hold him because he’s standing on a shaky toy rail while recording with the other hand.
With the 10th Annual Kosher Chili Cookoffand the Purim Carnival both happening on the same day at the JCAA, we knew we had to come up with a special costume.
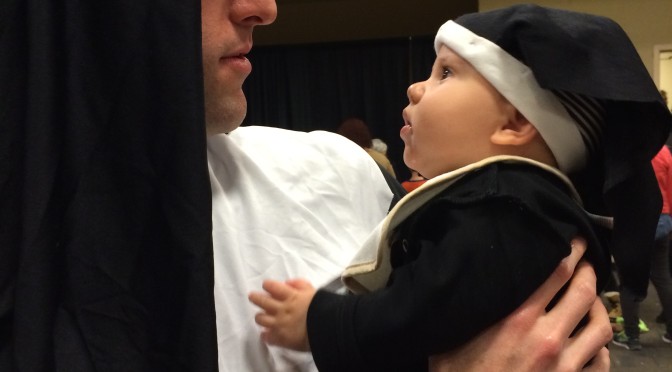
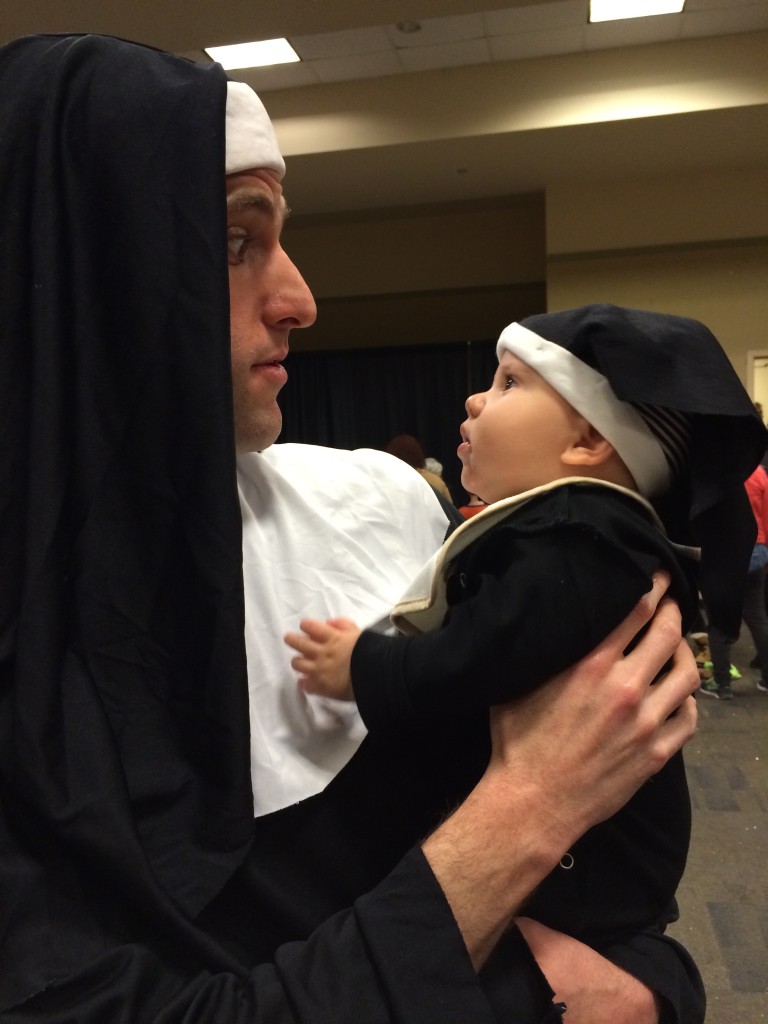
So after lots and lots of deliberation, Ilán and I settled on the classic crowd pleaser: The Ugly Nun and The Ugly Nun mini. Turns out Ilán has managed to put on a lot of weight since he was a week old without really growing much hair. This forced us to create a brand new The Ugly Nun costume. Fortunately, mine still fits.
Unlike every other day of his short life, Ilán decided to actually sleep in that day. That means we missed the costume contest (we were a shoe in for first prize, I mean, look at me) and missed eating chili too! (whatever, it’s kosher chili, can’t be that great).
Too bad, we’ll need to dress up the same next year. And since this blog is like Playboy and people come for the photos and not the articles, here you go:
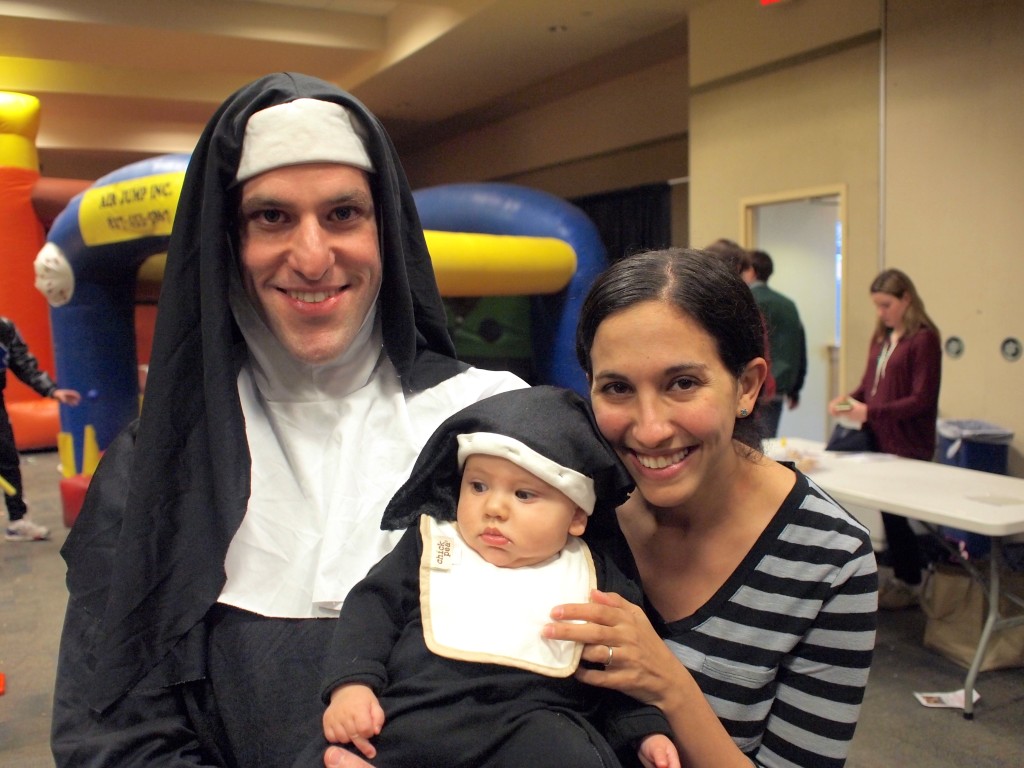
Left: The Ugly Nun. Right: The Ugly Nun mini
Blinking contest. He won.
Believe it or not, women find The Ugly Nun irresistible. Here’s proof.


 L
L